MC Configuration file sdk_config.jwt
The sdk_config.jwt file is only needed for the KOBIL Shift Lite solution. It is signed by AST Services.
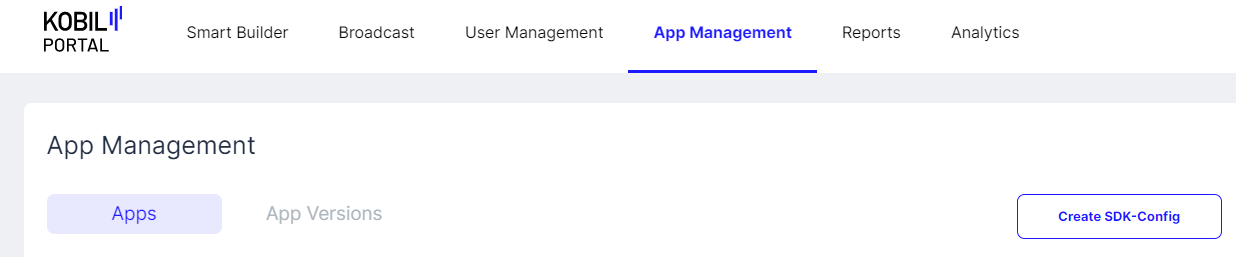
Via the KOBIL Portal
-
Press 'Create SDK-Config'
-
Add trusted TLS server certificates
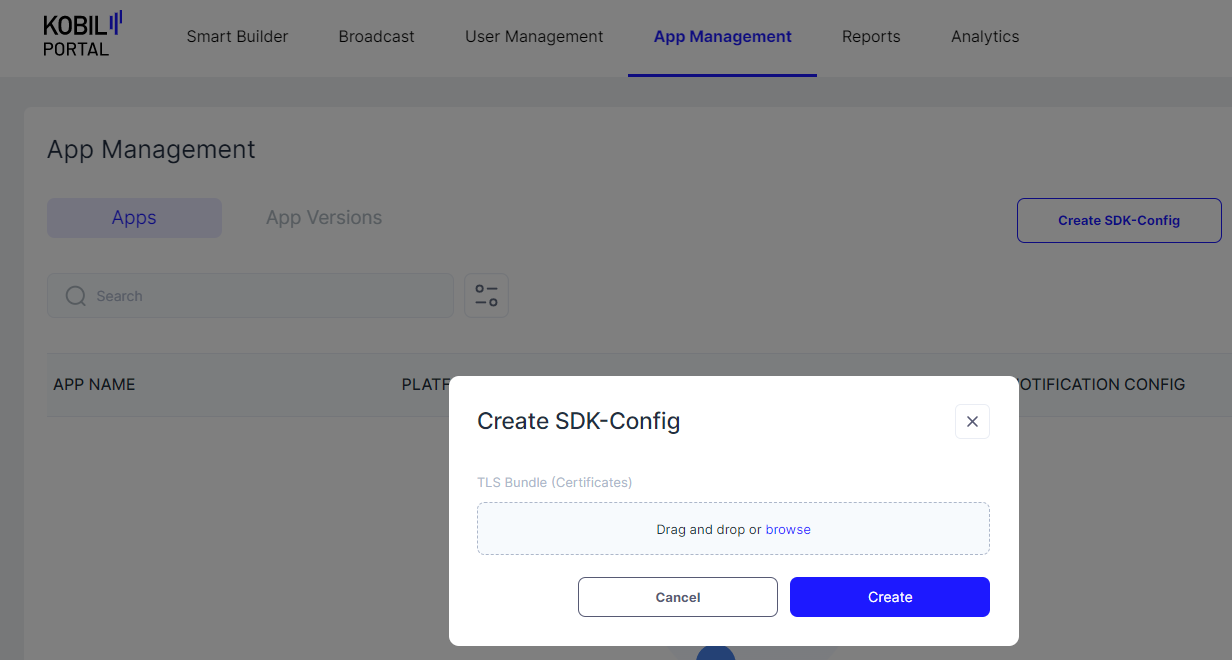
Note: This file containing the trusted TLS server certificates must be in PEM format and can contain one or more certificates. See Trust Store Configuration for details on which certificates to include. You need to add certificates for all the services of your Shift Lite environment. In the typical case, most services reside on the same server, so a single certificate can be sufficient (especially if you use a certificate from a common CA on the chain or a wildcard certificate). In more complex situations, you might need multiple certificates. When renewing certificates and you want both old and new certificates in parallel, you will need to include several certificates.
- Use
sdk_config.jwtin your app
The file is not readable without decoding the JWT structure. You can use services like https://jwt.io/ to read and check the values such as URLs and trusted TLS server certificates.
Note: Be careful not to change the file content or line/file endings, otherwise the signature will be broken and the file cannot be used for login.
Note: For additional details, see the KOBIL Portal documentation.
Via cURL CLI
Note: All API requests described here require an authorization token. For guidance on obtaining authorization tokens, see Getting Authorization Tokens.
When requesting an authorization token, use the subdomain idp. For all other requests (App, App Version, SDK config), use the subdomain asts.
Add a User to Signers
If you have not already done so, add the desired user to the list of signers permitted to create JWT tokens:
curl -X 'POST' \
  'https://asts.your-environment.shift.company.com/v1/signers' \
  -H 'accept: application/json' \
  -H 'Content-Type: application/json' \
  -d '{   "tenant": "$yourTenantName",   "name": "$userId" }'
your-environment.shift.company.com — replace with the appropriate hostname of your environment.
$yourTenantName — the tenant for which you are creating the JWT file.
$userId — the unique user ID (UUID) of the individual you want to authorize to sign JWT tokens. This UUID is not normally displayed to users but can be found in your IAM system (KOBIL IDP) where user management takes place.
Create a Signed JWT File
An important component of the JWT file is the trusted certificate. To prepare it for use in the cURL request:
- Start with your certificate in standard PEM format (
Certificate.pem). - Replace the line breaks with the escape sequence
\nusing this command:awk 'NF {sub(/\r/, ""); printf "%s\\n",$0;}' Certificate.pem - Remove the
-----BEGIN CERTIFICATE-----\nand\n-----END CERTIFICATE-----\nlines from the output.
Once done, perform a POST request in the following format to obtain the signed sdk_config.jwt:
curl -o sdk_config.jwt -X POST "https://asts.your-environment.shift.company.com/v1/tenants/$yourTenantName/sdkconfig" \
--header "content-type: application/json" \
--header "Authorization: Bearer $token" \
--data-binary "{
  \"tenant\": \"$tenant\",
  \"tlsBundle\": [ \"$Certificate\"
  ],
  \"astUrl\": \"https://asts.your-environment.shift.company.com\",
  \"services\": [
    {
        \"name\": \"astCa\",
        \"url\": \"https://asts.your-environment.shift.company.com\"
    },
    {
        \"name\": \"astLogin\",
        \"url\": \"https://asts.your-environment.shift.company.com\"
    },
    {
        \"name\": \"astManagement\",
        \"url\": \"https://asts.your-environment.shift.company.com\"
    },
    {
        \"name\": \"astProperties\",
        \"url\": \"https://asts.your-environment.shift.company.com\"
    },
    {
        \"name\": \"astStream\",
        \"url\": \"https://asts.your-environment.shift.company.com\"
    },
    {
        \"name\": \"astTms\",
        \"url\": \"https://asts.your-environment.shift.company.com\"
    },
    {
         \"name\": \"push\",
         \"url\": \"https://scp.your-environment.shift.company.com/notifier\"
    }
  ]
}"
your-environment.shift.company.com — replace with the appropriate hostname of your environment. Use the subdomain idp for authorization tokens, and asts for all other requests.
$yourTenantName — the tenant for which you are creating the JWT file.
$token — an authorization token belonging to a user with the necessary permissions/roles to sign JWT tokens.
$Certificate — a certificate in the chain from the SSL certificate to the corresponding root CA. See Trust Store Configuration for details on which certificate to choose. It must be provided in the format described above. In the typical case, most services reside on the same server, so a single certificate is sufficient. In more complex situations (multiple servers, certificate renewal with both old and new in parallel), you can pass a comma-separated list: instead of \"tlsBundle\": [ \"$Certificate\"], use \"tlsBundle\": [ \"$Certificate1\", \"$Certificate2\"],.