Kernel
General Features of the User Interface
This section informs you on how to use the graphical user interface of the KOBIL Security Server for the first log-in and management tasks.
Please note that the use of the Security Server requires the integration of configuration license files in order to obtain the appropriate permissions to carry out certain operations on the server. Find more information in here.
After logging in the master tenant, try switching tenant in top right, by clicking on Login as. You will see the newly created tenant present and you can select the same from drop down list and once done click Switch to Tenant.
• Once you are switched to the newly created tenant, please create new operator and new portal user credentials for this tenant. These operator credentials and portal user credentials will be shared with partners for making SOAP calls to MGT and SVC modules respectively.
Role Management
Each operator of the system must have a role which defines the permissions assigned to the operators.
Log-in
The operator requires a certificate, which must be imported into the browser (find a more detailed description in the Security Server installation manual), to log into the system. The certificate defines the role and the authorization of the operator. The certificate defines which role and consequently which permissions the operator possesses. The super administrator can create the certificates via the Security Server GUI: The operator needs the certificate to log into the KOBIL Security Server; consequently, he must receive it along with its password.
Navigation Menu
You can access the Management System via the home page with the following URL:
https:<Servername>/ssms-gui/faces/
where <Servername> is your host name.
As mentioned above, the roles define the authorizations of the operators. Find information about the functions of the different roles in the tables contained in every module-specific manual.
After logging into the Security Server, every operator is notified about which role has been assigned to his account. The role allows or limits the functions and views available to him on the Security Server.
The home page leads the user to the different module views of the Security Server. The available modules are displayed in the navigation menu at the top of the page. If you click on any module, its submenu is then shown a level deeper in the navigation menu.
Select Entries
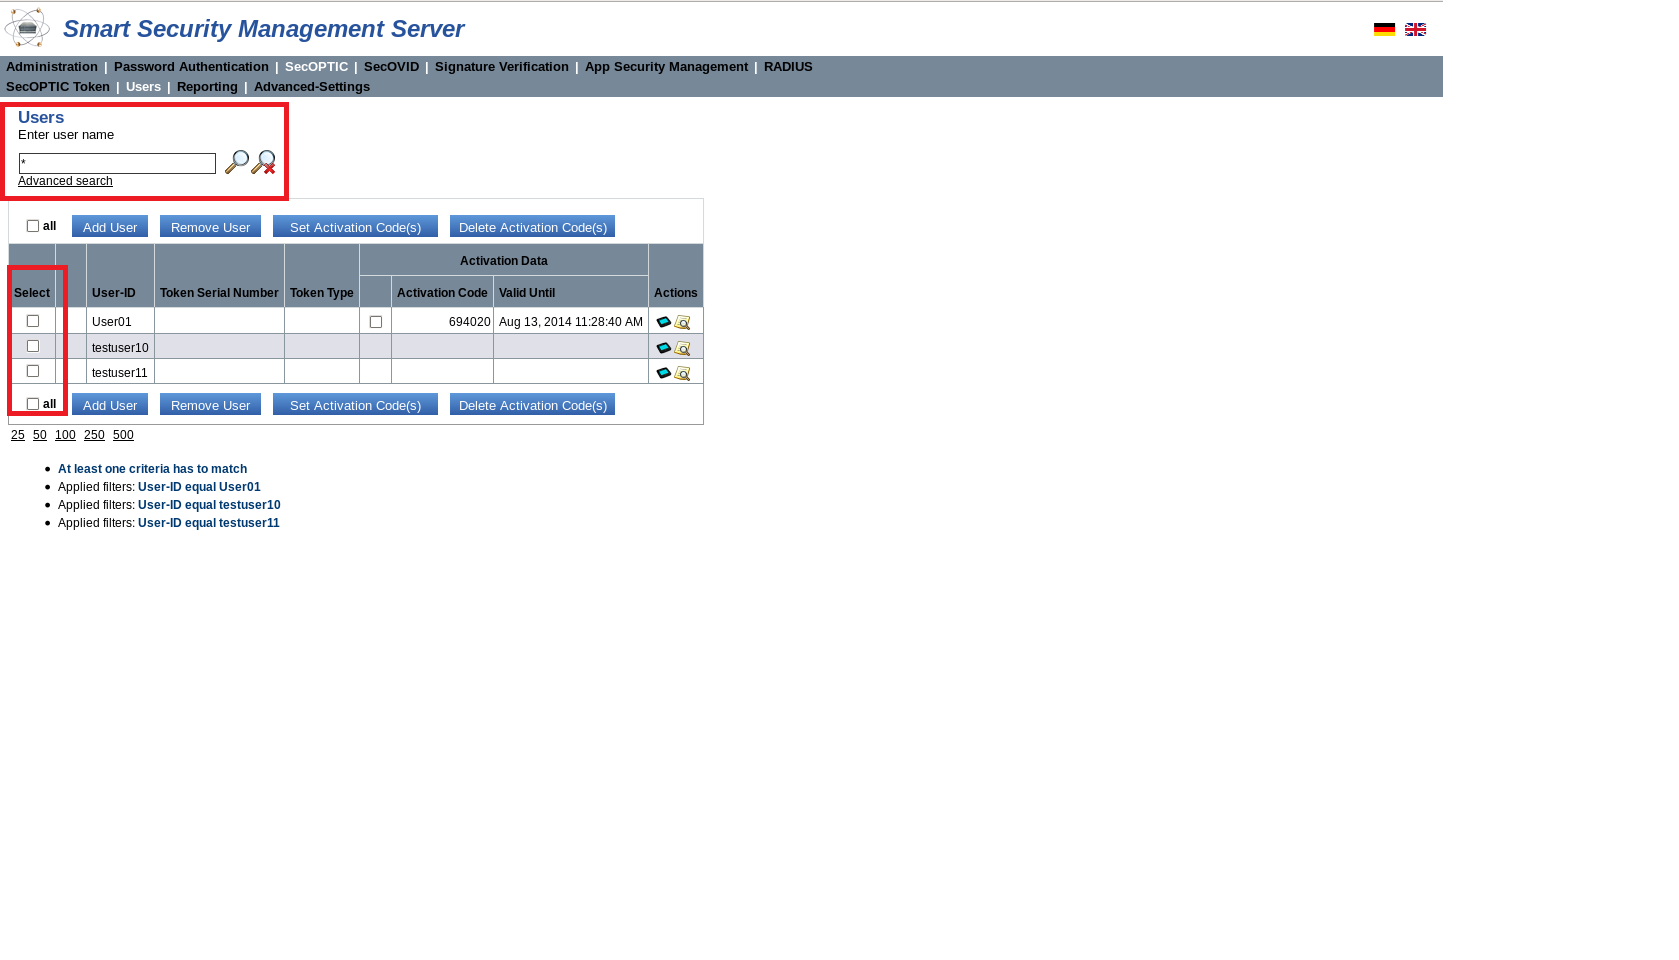
In some views, the data are displayed as lists, as shown in Figure. Check or uncheck the boxes on the left of the data to select or unselect entries. In order to select all entries, check the box “all”, as shown by the red marking in the following Figure.
Search
In a list of entries, you can search or filter specific entries. You can type your search string into the field as shown in the Figure above or you can perform an advanced search. Find information about the filter options in the following paragraphs.
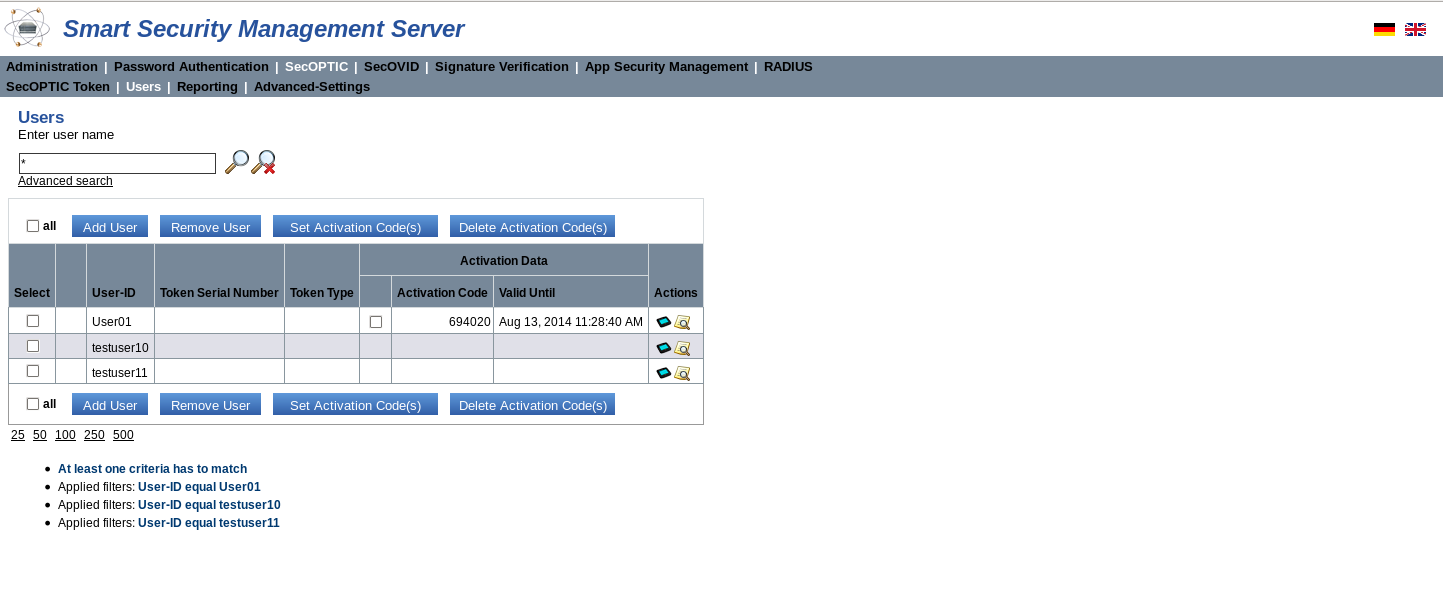
Search for User(s)
You can search or filter entries according to specific attributes, whose values can be set in the search field. Afterwards, you start the search by clicking on the magnifier symbol next to the search field. The values can include the following wildcards (placeholders).
? or _ | Question mark or underscore for exactly one character. |
|---|---|
* or % | Asterisk or percentage sign for any number of signs. |
\ | Backslash as escape symbol |
( ) | Please do not use for search square brackets, only round brackets |
Note that, particularly in the advanced search, you can use the wildcards only in alphanumerical text searches; (the database type of the target field must be: VARCHAR, CHAR, Text, etc.) moreover, they only work with the "equal" and “not equal” operators. (Depending on database types, wildcards can be used with "not equal" type of search and not only with "equal" and can also be used with "not equal" type of search and not only with "equal".
Reset Search
By clicking on the other magnifier symbol ![]() , you can delete a search result and return to the standard display.
, you can delete a search result and return to the standard display.
Advanced Search
With the advanced search, you can combine a selection of attributes in different search queries. These attributes allow you to specify complex search queries. Attributes and conditions can be added or removed with the symbols + or - .
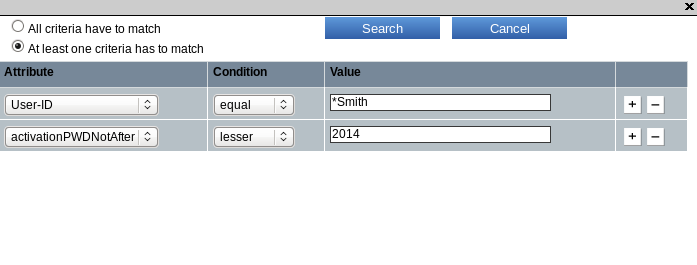
You can define each attribute with the conditions "equal", "not equal", "greater" and "lesser". If you formulate several search queries, you can select whether all criteria must match or whether only one must match (see Figure).
Note: The advanced search delivers different results if you search for letters or numbers, particularly with the conditions “lesser” < or “greater” >.
For numbers, the result of the search is unambiguous. For example, with the condition “lesser” applied to the device serial number 2123, i.e. <2123, you receive all serial number smaller than 2123.
However, if you search for letters or words using the conditions mentioned above, the result depends on the database and on the database type (MySQL, MSSQL or Oracle) and can vary from the example illustrated below.
If you created the users “test user”, “Test User” and “TEST USER” in the database and you search for “test” in small letters with the condition lesser, you receive the results “Test User” and “TEST USER”. These results depend on the ordinal numbers assigned to letters in the UTF-8 encoding. As capital T has a smaller ordinal number in the UTF-8 encoding than lower case t, “Test User” and “TEST USER” are delivered as search results. More precisely, the “T” in “Test” has a smaller ordinal number than the “t” in “test” and each letter in “TEST” is smaller than in “test”.
Example of an advanced search:
"Search for all devices of a certain batch containing the application TestApp01, and that were used within the last 7 days (current date is 05/05/2014)."
This search query consists therefore of 4 criteria:
Attribute | Condition | Value |
|---|---|---|
Serial number | > | 200905110 |
Serial number | < | 200905115 |
Device-ID | == | TestApp01 |
Last login time | > | 04.30.14 |
Note: In the advanced search filter for a point in time, you can only enter the date. A further time specification is currently not supported.
Buttons
The buttons are placed above and below the table and offer the same functionalities twice. With the buttons, you can carry out an action for one or many users or devices. To carry out an action, check the boxes on the left of the ID entries, corresponding to the users or to the devices and click the button of the action. In addition, you can carry out the action for all users, checking “all” on the bottom- or on the top-left.

With these buttons you can carry out actions for a single user or for a group (Add User cannot be a group action), while with the actions icons on the right, you can only carry out actions for a single user or device.
Actions Icons
As mentioned above, with the action icons on the right of each row, you can only carry out actions for a single object. In contrast to the buttons, you can click the icon directly in the particular row to carry out the action and you do not need to select the user or the device beforehand.